

Create Signing Keys
- Create a config for making the signing key, save as mokconfig.cnf:
# This definition stops the following lines failing if HOME isn't# defined.HOME = .RANDFILE = $ENV::HOME/.rnd[ req ]distinguished_name = req_distinguished_namex509_extensions = v3string_mask = utf8onlyprompt = no[ req_distinguished_name ]countryName = <YOURcountrycode>stateOrProvinceName = <YOURstate>localityName = <YOURcity>0.organizationName = <YOURorganization>commonName = Secure Boot Signing KeyemailAddress = <YOURemail>[ v3 ]subjectKeyIdentifier = hashauthorityKeyIdentifier = keyid:always,issuerbasicConstraints = critical,CA:FALSEextendedKeyUsage = codeSigning,1.3.6.1.4.1.311.10.3.6nsComment = "OpenSSL Generated Certificate"
Adjust all parts with <YOUR*> to your details. - Create the public and private key for signing the kernel:
openssl req -config ./mokconfig.cnf -new -x509 -newkey rsa:2048 -nodes -days 36500 -outform DER -keyout "MOK.priv" -out "MOK.der" - Convert the key also to PEM format (mokutil needs DER, sbsign needs PEM):
openssl x509 -in MOK.der -inform DER -outform PEM -out MOK.pem
Enroll MOK Key
- Enroll the key to your shim installation:
sudo mokutil --import MOK.derYou will be asked for a password, you will just use it to confirm your key selection in the next step, so choose any. - Restart your system. You will encounter a blue screen of a tool called MOKManager. Select “Enroll MOK” and then “View key”. Make sure it is your key you created in step 2. Afterwards continue the process and you must enter the password which you provided in step 4. Continue with booting your system.
- Verify your key is enrolled via:
sudo mokutil --list-enrolled
Sign your Kernel
- Sign your installed kernel (it should be at /boot/vmlinuz-[KERNEL-VERSION]-surface-linux-surface):
sudo sbsign --key MOK.priv --cert MOK.pem /boot/vmlinuz-[KERNEL-VERSION]-generic --output /boot/vmlinuz-[KERNEL-VERSION]-generic.signed - Copy the initram of the unsigned kernel, so we also have an initram for the signed one.
sudo cp /boot/initrd.img-[KERNEL-VERSION]-generic/boot/initrd.img-[KERNEL-VERSION]-generic.signed
Update GRUB
- Update your grub-config
sudo update-grub
Reboot and Test
- Reboot your system and select the signed kernel. If booting works, you can remove the unsigned kernel:
sudo mv /boot/vmlinuz-[KERNEL-VERSION]-generic{.signed,} sudo mv /boot/initrd.img-[KERNEL-VERSION]-generic{.signed,} sudo update-grub
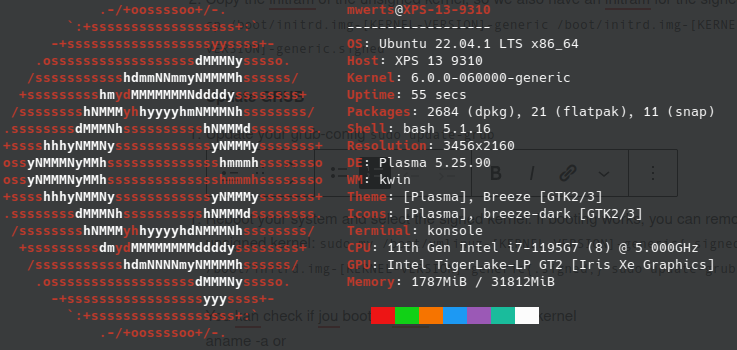
You kan check if jou booted white the new signed kernel
aname -a or
neafetch
Now your system should run under a signed kernel and upgrading GRUB2 works again. If you want to upgrade the custom kernel, you can sign the new version easily by following above steps again from step seven on. Thus BACKUP the MOK-keys (MOK.der, MOK.pem, MOK.priv).
Bron: https://gloveboxes.github.io/Ubuntu-for-Azure-Developers/docs/signing-kernel-for-secure-boot.html
Je moet ingelogd zijn om een reactie te plaatsen.